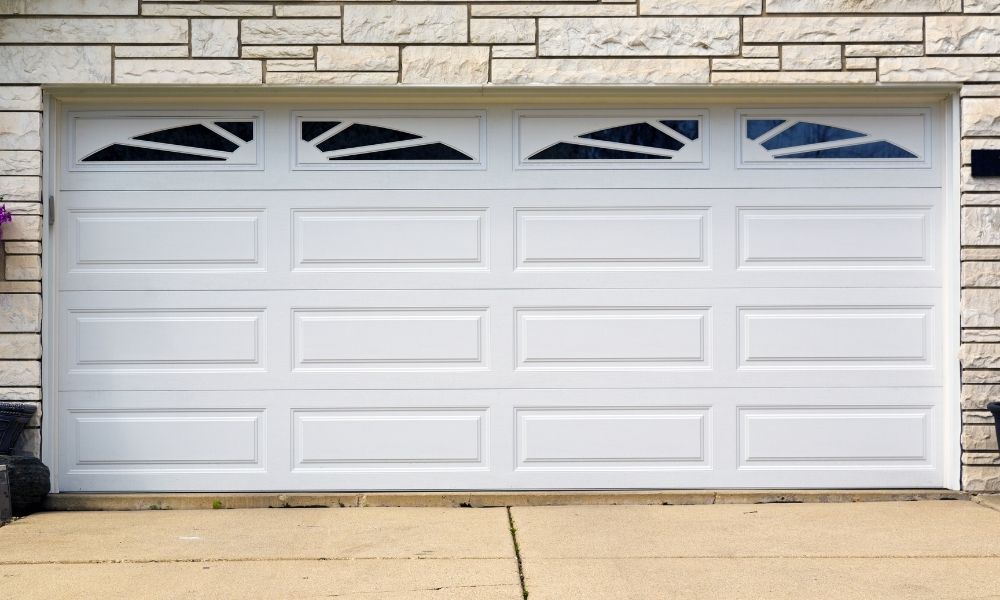
As the chilly winds of winter start to creep in, it’s time to prepare your home for the frigid months ahead. One often overlooked area is the garage, which can become a source of heat loss and energy inefficiency if not properly winterized. In this comprehensive guide, we’ll walk you through the essential steps to winterize your garage door, ensuring that you keep the cold at bay, save energy, and maintain the longevity of your garage door system.
Why Winterize Your Garage Door?
Before we dive into the details, let’s understand why winterizing your garage door is crucial, especially in places like Laurel and Mechanicsville, where winters can be harsh.
- Energy Efficiency: A well-insulated garage door can significantly reduce heat loss, leading to lower energy bills during the winter months.
- Protection: Winterizing helps protect your garage and its contents from extreme cold, preventing damage to vehicles, tools, and stored items.
- Longevity: Proper maintenance and insulation can extend the lifespan of your garage door system, saving you money in the long run.
Now, let’s get into the nitty-gritty of how to winterize your garage door.
Step 1: Inspect Your Garage Door
Start by carefully inspecting your garage door for any visible damage or wear and tear. Look for cracks, gaps, or holes in the door or the weatherstripping. Pay close attention to the bottom seal, as this is a common area for cold air to seep in.
Step 2: Weatherstripping Replacement
If you notice any damage or gaps in the weatherstripping, it’s time for a replacement. Weatherstripping creates a seal around your garage door, preventing drafts and cold air infiltration. Choose a high-quality weatherstripping material suitable for your specific garage door type and size.
Step 3: Insulate Your Garage Door
To improve insulation, consider adding a layer of insulation to your garage door. There are two primary types of insulation you can choose from:
- Reflective Foil Insulation: This type of insulation reflects heat and cold away from your garage, making it a great option for moderate winters.
- Foam Board Insulation: Foam board provides excellent insulation against extreme cold. Cut the insulation boards to fit the panels of your garage door and attach them securely.
Step 4: Maintain Moving Parts
Ensure that all moving parts of your garage door, including hinges, rollers, and tracks, are well lubricated. Cold temperatures can cause these parts to become stiff and less efficient.
Step 5: Check Your Garage Door Opener
If you have a garage door opener, ensure it’s working smoothly. Cold weather can affect the performance of the opener, so it’s essential to keep it in good condition. Lubricate the opener’s chain or screw drive as recommended by the manufacturer.
Step 6: Clean and Seal the Floor
Clean your garage floor thoroughly and apply a concrete sealer to prevent moisture from seeping in through the concrete. This can help maintain a warmer temperature inside the garage.
FAQs
Do I need to hire a professional to winterize my garage door?
While some homeowners may choose to hire a professional for complex tasks, many of the steps mentioned in this guide can be completed as DIY projects. It ultimately depends on your comfort level with maintenance tasks and the complexity of your garage door system.
How can I tell if my garage door is properly insulated?
To check your garage door’s insulation, touch it on a cold day. If it feels extremely cold to the touch, chances are it lacks proper insulation. You can also inspect it for visible gaps and consider adding insulation panels if needed.


